Table of Contents
Click here or the button below to jump to Over the Range Microwave Installation instructions.
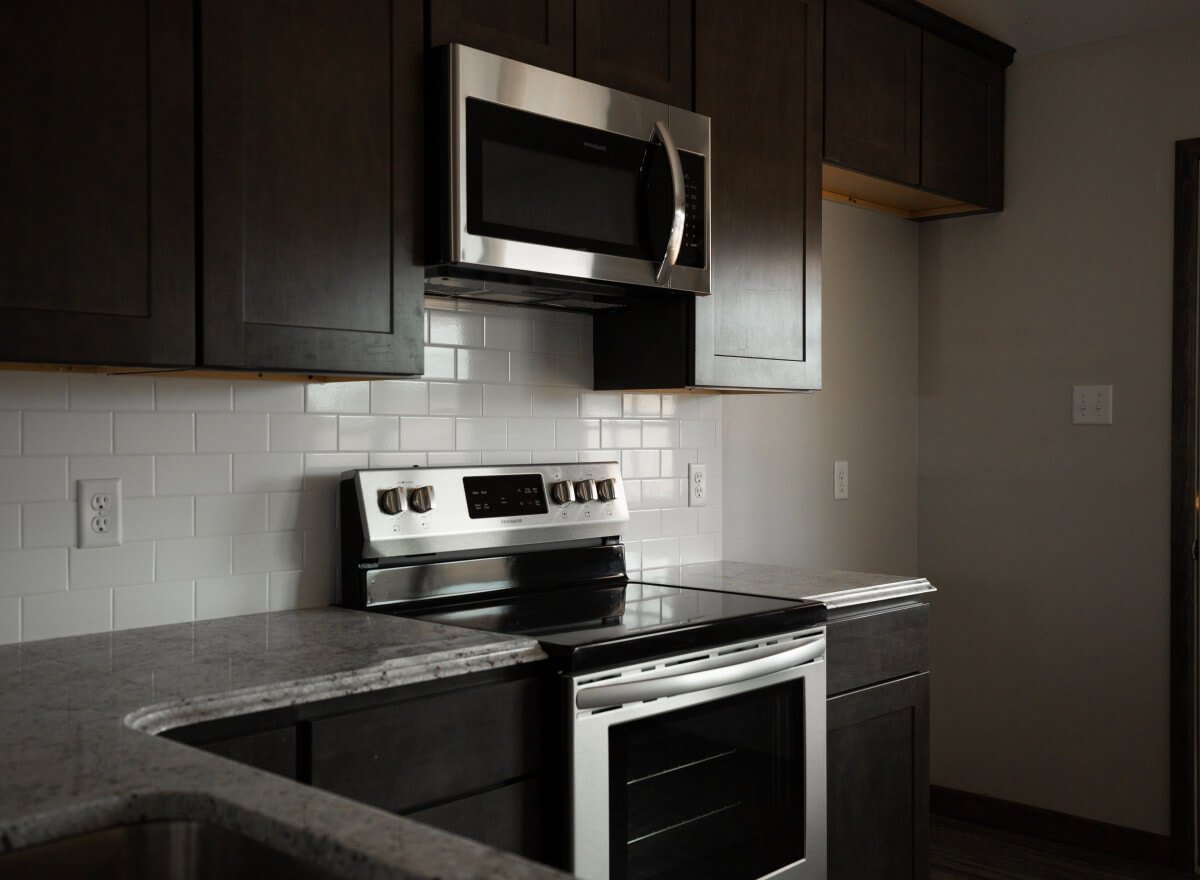
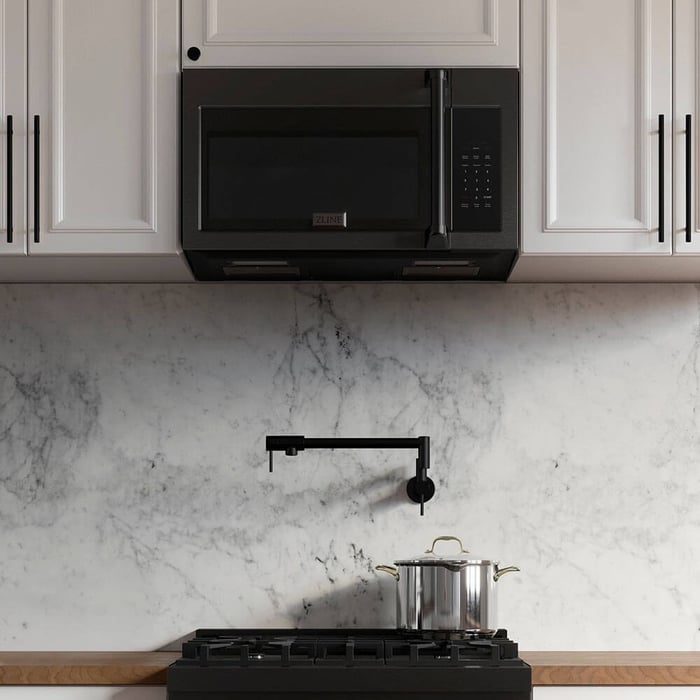
Over the range microwaves are a tried and true kitchen appliance. By combining a microwave, a range hood, and in some cases, a convection oven, over the range microwaves (also known as OTR microwaves) can be both stylish and functional.
Unlike countertop microwaves, over the range microwaves need to be installed over a range, stove, or cooktop. Installing an OTR microwave may sound difficult at first, but it is something you can do yourself with the help of a friend or household member. In this post, we’re covering how to install an OTR microwave and answering some common questions we get here at Rustic Kitchen and Bath about over the range microwaves.
About Over the Range Microwaves
An over the range microwave is a type of microwave oven that is specifically designed to be mounted next to cabinets and above a cooking range, cooktop, or stove. This positioning allows it to serve both as a convenient cooking appliance of its own as well as a range hood, which is used for ventilation purposes in a kitchen.
By incorporating a built-in ventilation system with a fan and filters into its base, OTR microwaves help to remove smoke, steam, and odors that arise from cooking on the cooking surface below.
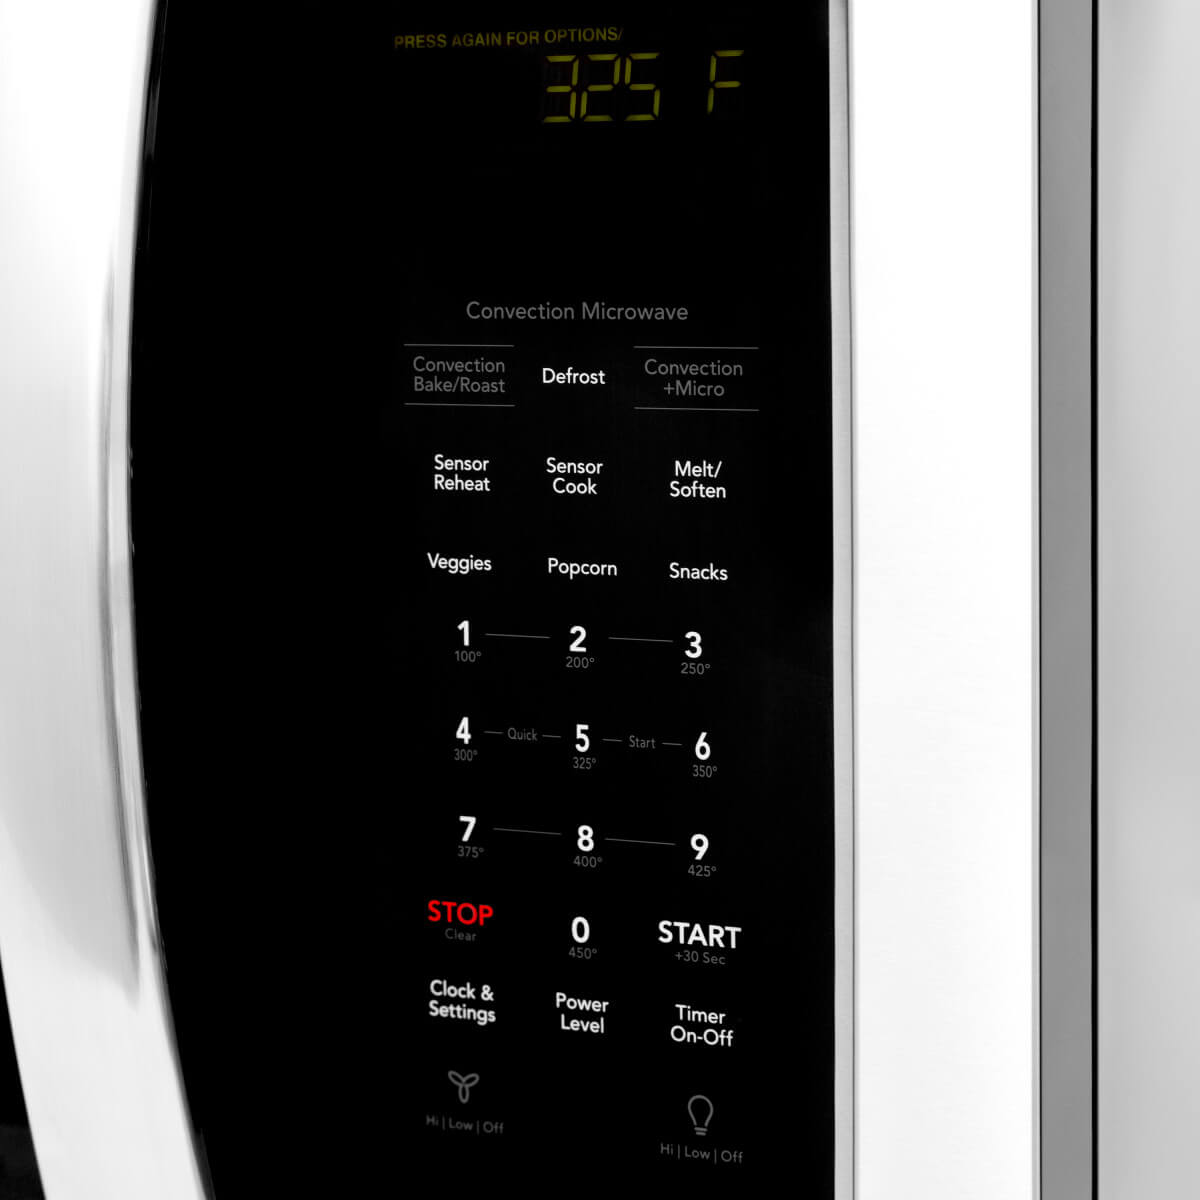
Most over the range microwaves have all the features and settings found in traditional countertop microwaves, as well as additional features like convection cooking or sensor cooking, depending on the model.

FAQs
What is an over-the-range (OTR) microwave?
An over-the-range microwave is designed to be mounted above a range or cooktop, combining a microwave with a built-in ventilation system. It functions as both a cooking appliance and a range hood, helping remove smoke, steam, grease, and odors while saving valuable counter space.
Can I install an over-the-range microwave myself?
Yes, many homeowners successfully install OTR microwaves as a DIY project. The process typically requires basic tools and at least one additional person to help lift and secure the unit. Carefully following the manufacturer’s instructions and using the provided templates is essential for a safe installation.
What size over-the-range microwave do I need?
Most OTR microwaves are 30 inches wide to match standard ranges, though compact 24-inch models are available for smaller spaces. Standard height is typically around 17 inches, with low-profile models designed for shorter cabinet openings. Depth usually ranges from 15 to 18 inches, depending on the model.
How high should an OTR microwave be installed above the cooktop?
Over-the-range microwaves are generally installed about 30 inches above the cooking surface. This height balances safe clearance, effective ventilation, and comfortable access while ensuring the microwave door can open fully.
Do over-the-range microwaves need to be vented outside?
OTR microwaves can be vented outside using ductwork or configured for recirculating (ductless) operation. Some models support both options, while others are limited to one. It is important to confirm the venting configuration before purchasing and installing your microwave.
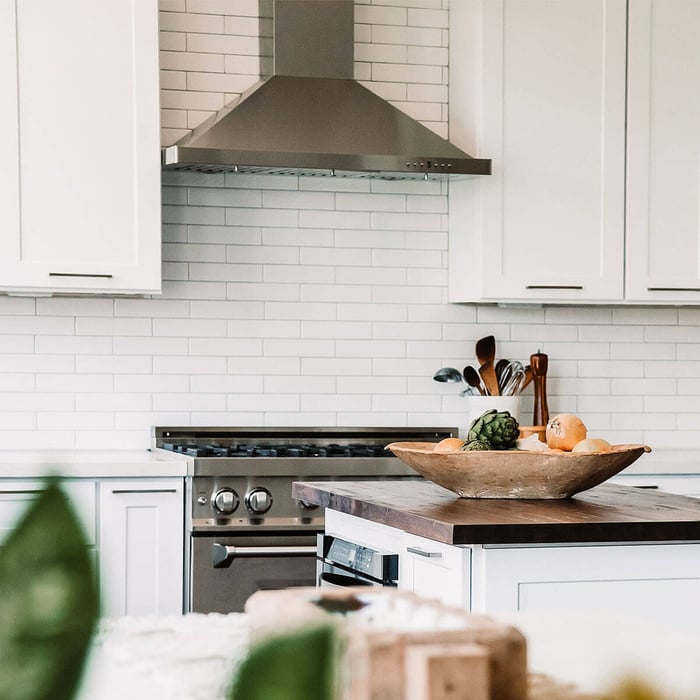
What is the difference between external venting and recirculating venting?
Externally vented OTR microwaves expel air outside the home and are more effective at removing heat and moisture. Recirculating models filter air through grease and charcoal filters before returning it to the kitchen, making them suitable when ducting is not possible.
What tools and materials are required for installation?
Typical installation requires a drill, level, stud finder, screwdriver, measuring tape, mounting hardware, wall bracket, and templates. At least one mounting screw must be secured into a wall stud to safely support the microwave’s weight.
Do I need to remove my old microwave first?
Yes. Existing microwaves must be unplugged, detached from the upper cabinet screws, and lifted off the rear wall bracket. If the new microwave uses the same mounting system, some hardware may be reusable, but this should always be verified.
Why is securing the microwave to a wall stud important?
OTR microwaves are heavy appliances. Anchoring at least one mounting screw into a wall stud ensures the microwave is properly supported and reduces the risk of loosening or failure over time.
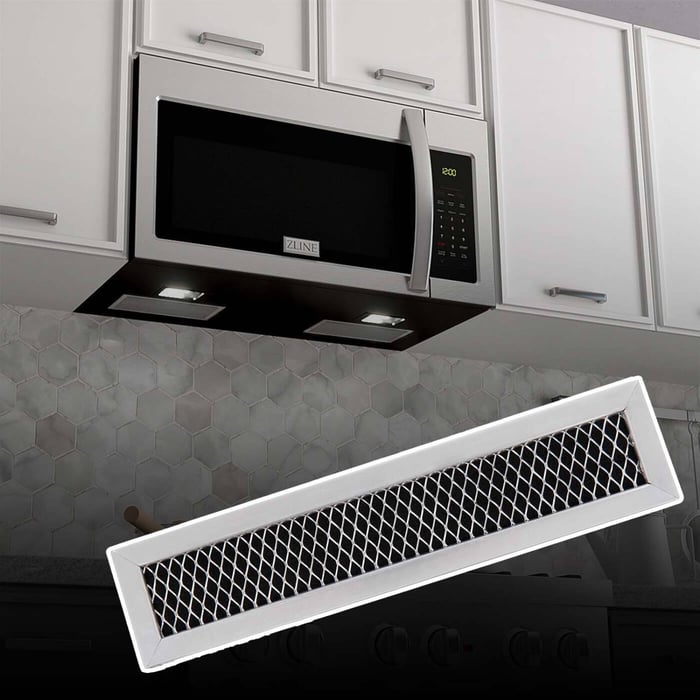
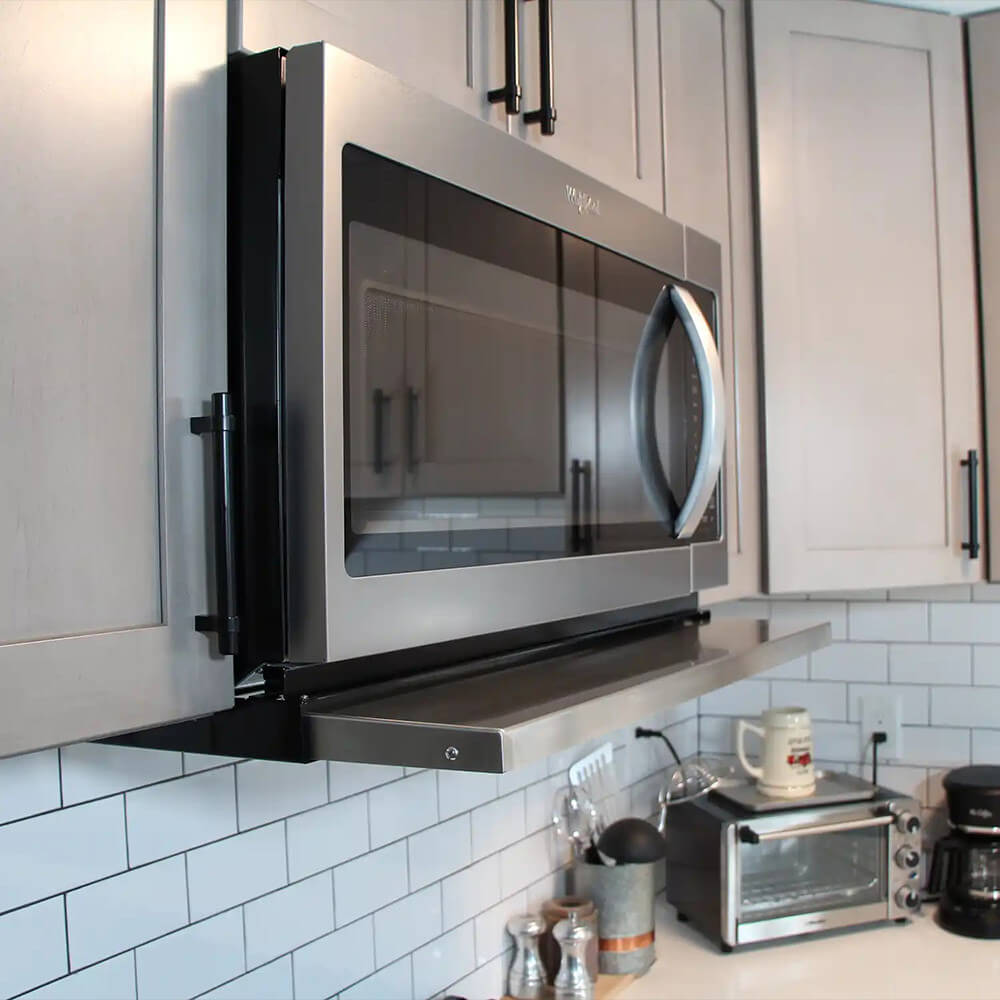
What is a Microvisor and do I need one?
A Microvisor is an accessory designed to improve ventilation performance on over-the-range microwaves. It helps capture smoke and fumes from the front burners that may otherwise escape, redirecting them into the microwave’s exhaust system while also protecting the microwave from excess heat.
Are over-the-range microwaves as powerful as countertop models?
Yes. Most OTR microwaves offer similar power levels and cooking features as countertop models, including sensor cooking, preset modes, and in some cases convection cooking, depending on the model.
What are the benefits of an OTR microwave with convection cooking?
Convection OTR microwaves add baking and roasting capabilities by circulating hot air inside the oven. This expands cooking flexibility and allows the appliance to function more like a compact wall oven.
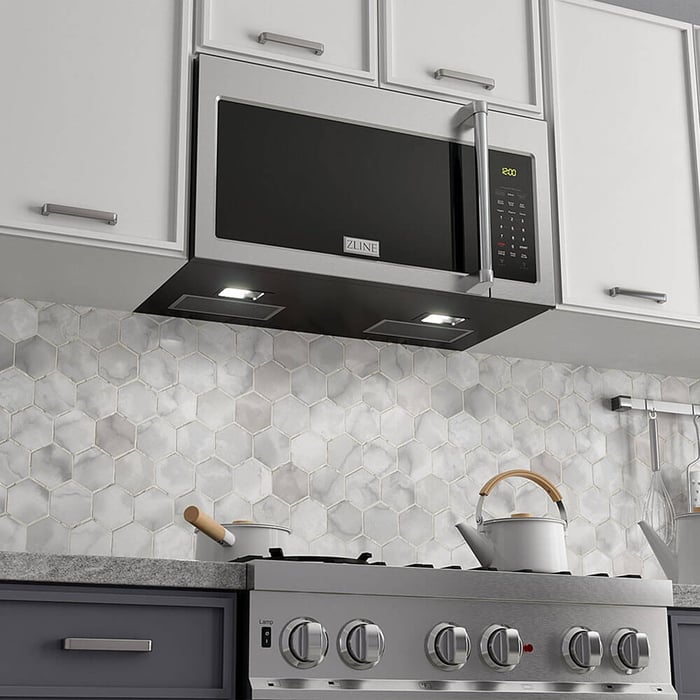
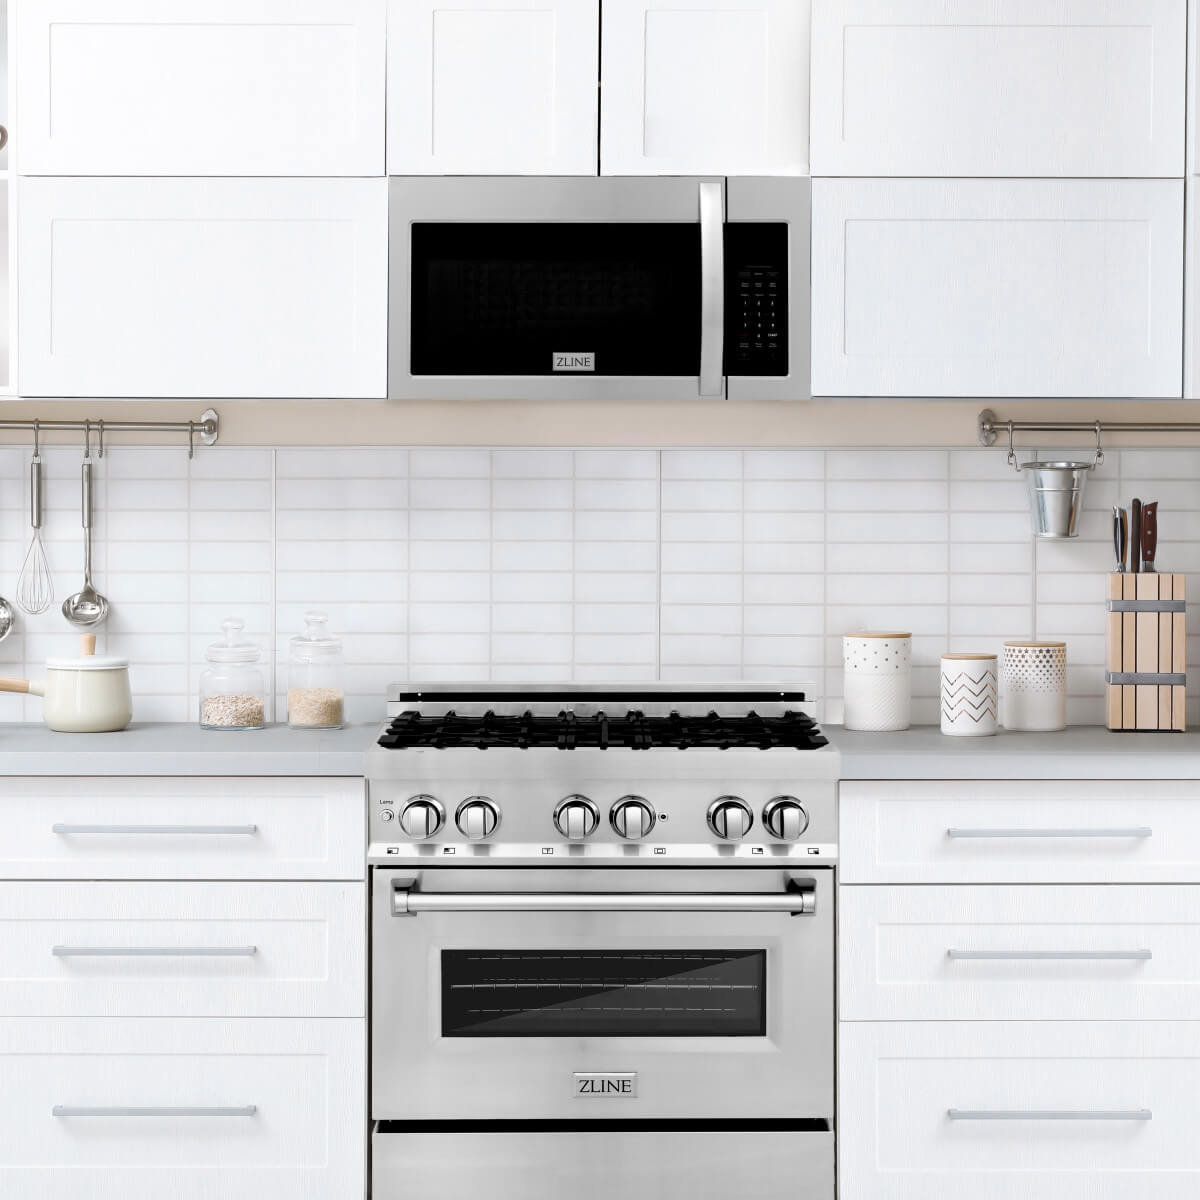
What is a good over-the-range microwave to consider?
Models from ZLINE Kitchen and Bath are popular for their combination of modern design, convection capability, durable stainless steel construction, and user-friendly features, making them a strong choice for homeowners upgrading their kitchens.
What should I test after installation is complete?
After installation, test the microwave’s power, interior light, turntable, and cooking functions. Also, test the ventilation fan to ensure it operates correctly in the selected venting configuration.
What is the biggest mistake to avoid during installation?
The most common mistakes are inaccurate measurements and failing to secure the unit into a wall stud. Double-check measurements, ensure templates are level, and confirm all mounting points are properly anchored.
What is the main advantage of choosing an over-the-range microwave?
Over-the-range microwaves maximize kitchen efficiency by combining cooking and ventilation into a single appliance. When properly installed, they provide a clean, streamlined look while freeing up counter space and improving overall kitchen functionality.